
*This post may contain affiliate links for which I earn commissions.*
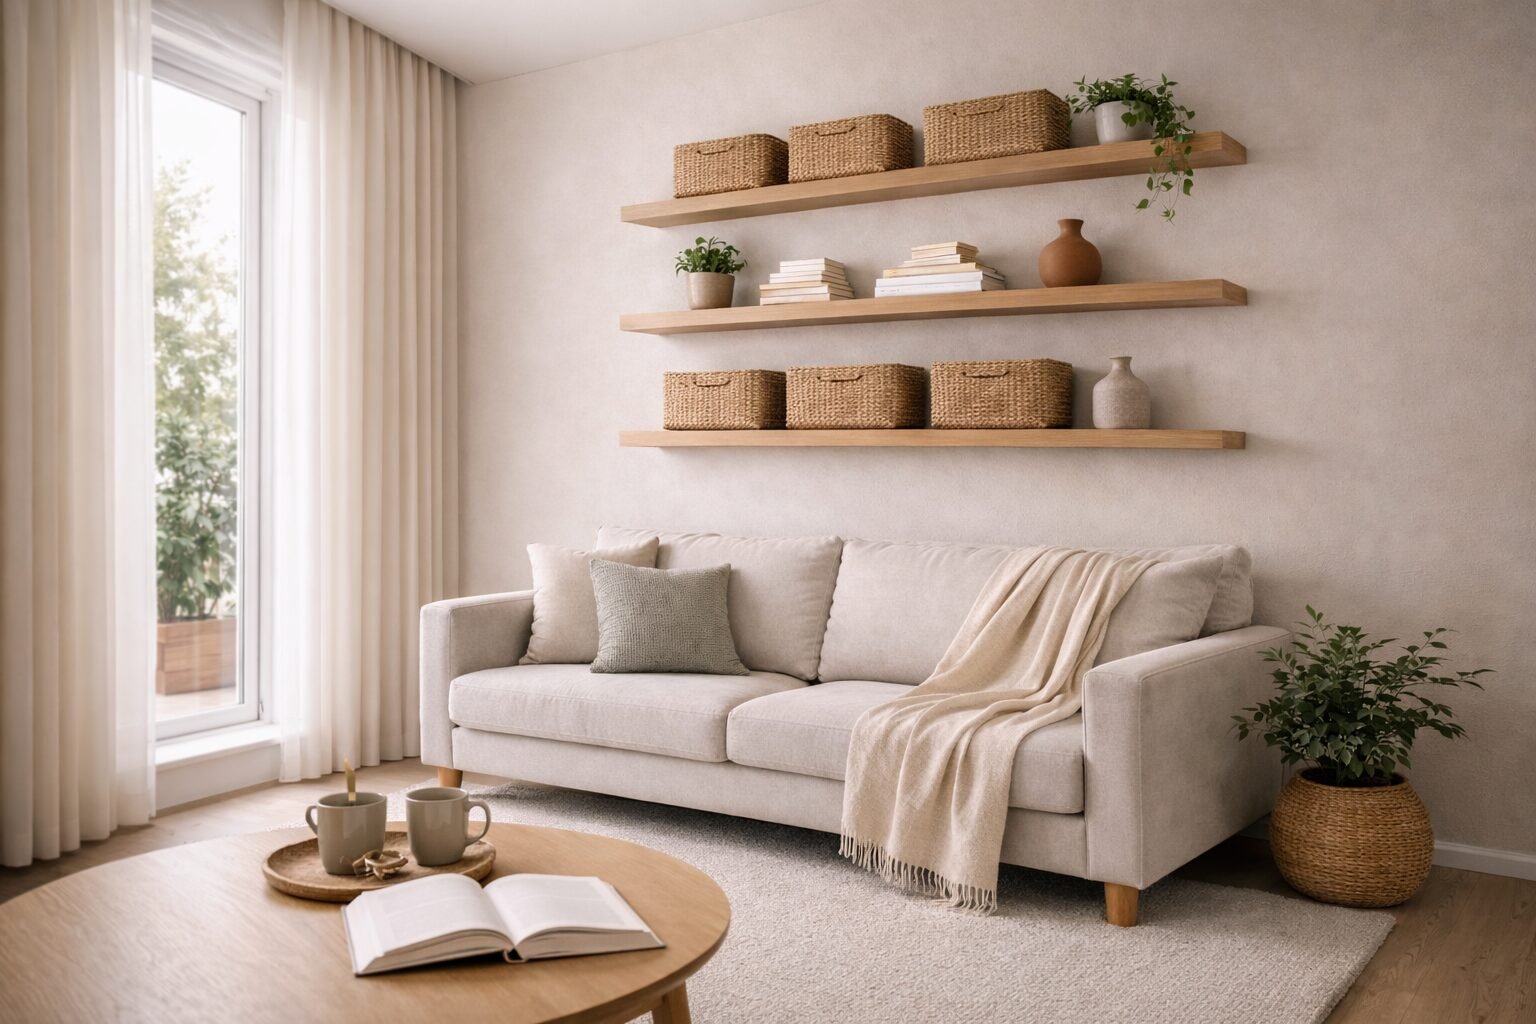
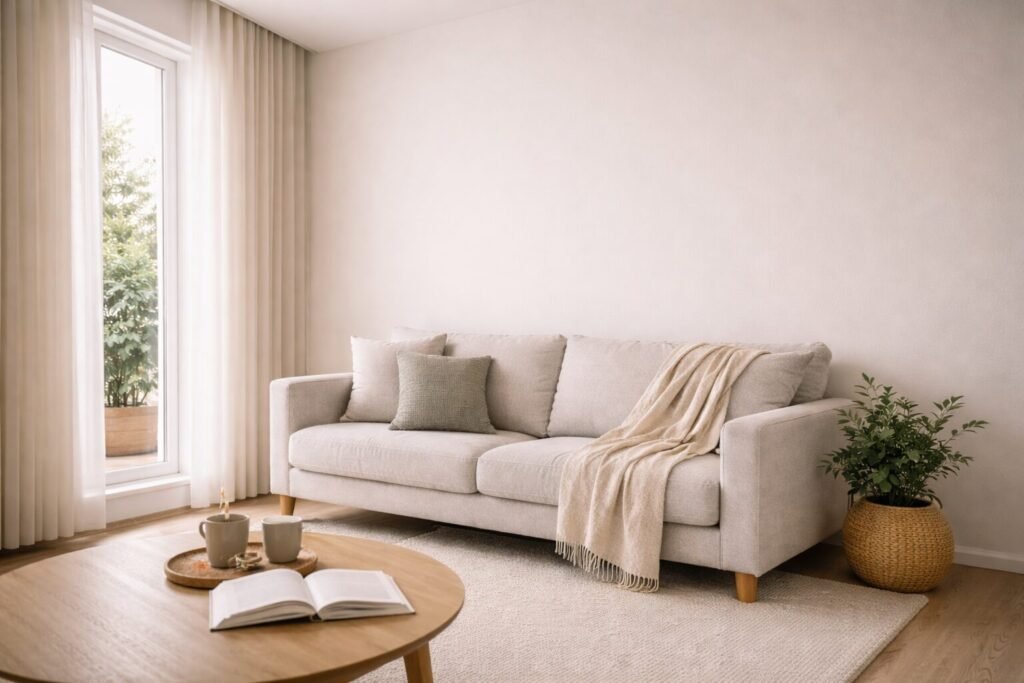
The wall above my sofa sat empty for months. The floor space was already working hard with a comfortable sofa, coffee table, a small armchair, and a side table. There simply wasn’t room for more floor storage.
That blank wall turned out to be the solution.
A simple row of floating shelves adds vertical storage for daily items without crowding the room. Whether you need storage or style, it’s an easy fix.
With a thoughtful layout and a few basic tools, you can build a small but smart wall system that keeps things organized and easy to reach. The result is a DIY vertical storage hack using floating shelves that adds storage without taking up valuable floor space.
Quick Tip: When floor space feels tight, look up. Walls often hold the storage potential we overlook.
What You Need
Supplies
Floating shelves (2–4 pieces)
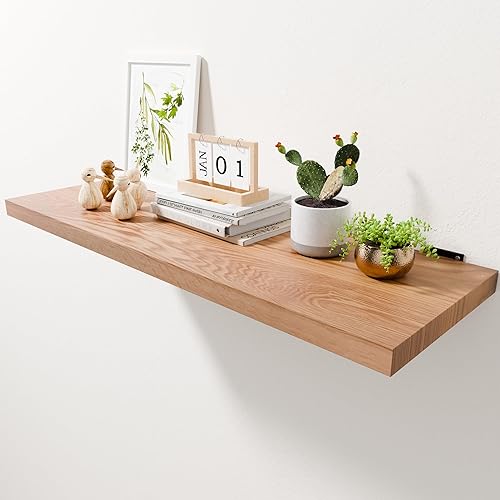
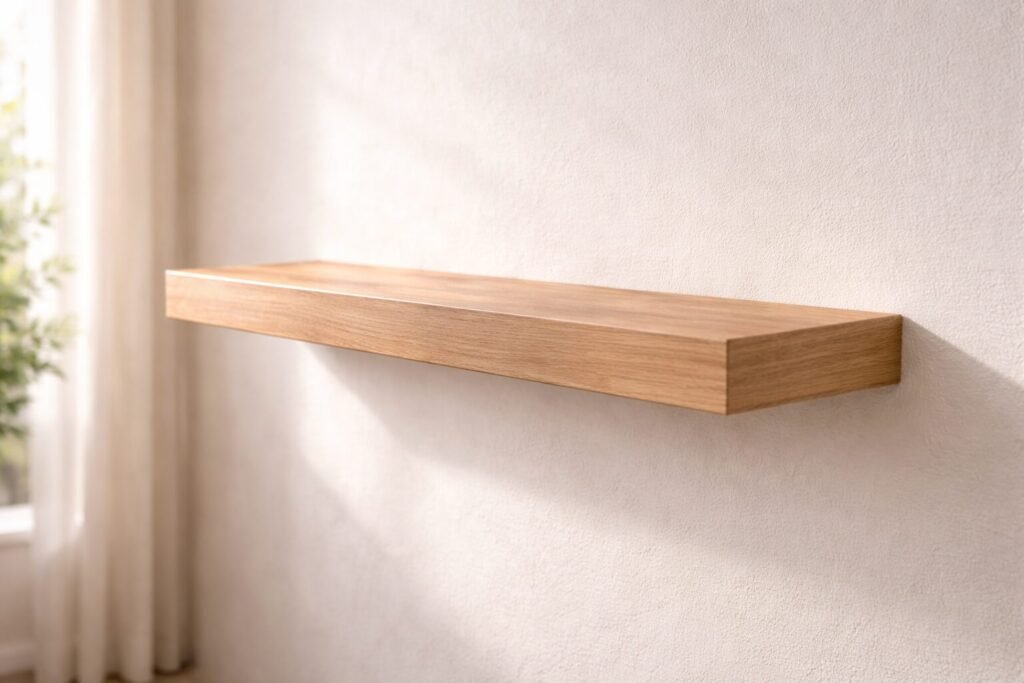
Look for shelves between 24–36 inches long and 8–12 inches deep. That depth holds books, baskets, or small storage bins without sticking too far into the room. Solid wood or thick MDF shelves tend to feel more stable.
Shelf brackets or concealed mounting hardware
Most floating shelves come with hardware included, but check the weight rating before you buy. Choose brackets rated for at least 20–30 lb each.
Wall anchors and screws
If you can hit a stud, great. If not, use drywall anchors rated for at least 20 pounds each. If the wall is plaster, use toggle bolts.
Stud finder
Makes it easier to locate secure mounting points.
Level
A small 9–12 inch level to keep the shelves straight.
A measuring tape and a pencil or painter’s tape
To plan shelf placement before drilling without leaving permanent marks.
Electric drill
A basic cordless drill is enough for this project. A hand screwdriver technically works, but a drill saves a lot of time.


Optional Storage Helpers
These make the shelves more functional once they’re installed.
- Small woven baskets (8–10 inches wide) for loose items.
- Low-profile storage boxes with lids for paperwork or chargers.
- Bookends if you plan to store books.
- Small ceramic or wooden trays for grouping objects.
- Decorative objects like small plants, framed photos, or candles.
Quick tip: Pick neutral baskets, like seagrass, jute, or plain canvas, so the wall remains visually calm. Use bins 1–2 inches shallower than the shelf so they don’t stick out.
Set Yourself Up for Success
A few quick checks make the installation much smoother. A little prep here saves a lot of redoing later.
Choose a wall that already works hard.
Living room seating areas, home office corners, and entry walls often benefit the most from vertical storage.
Decide how many shelves you need.
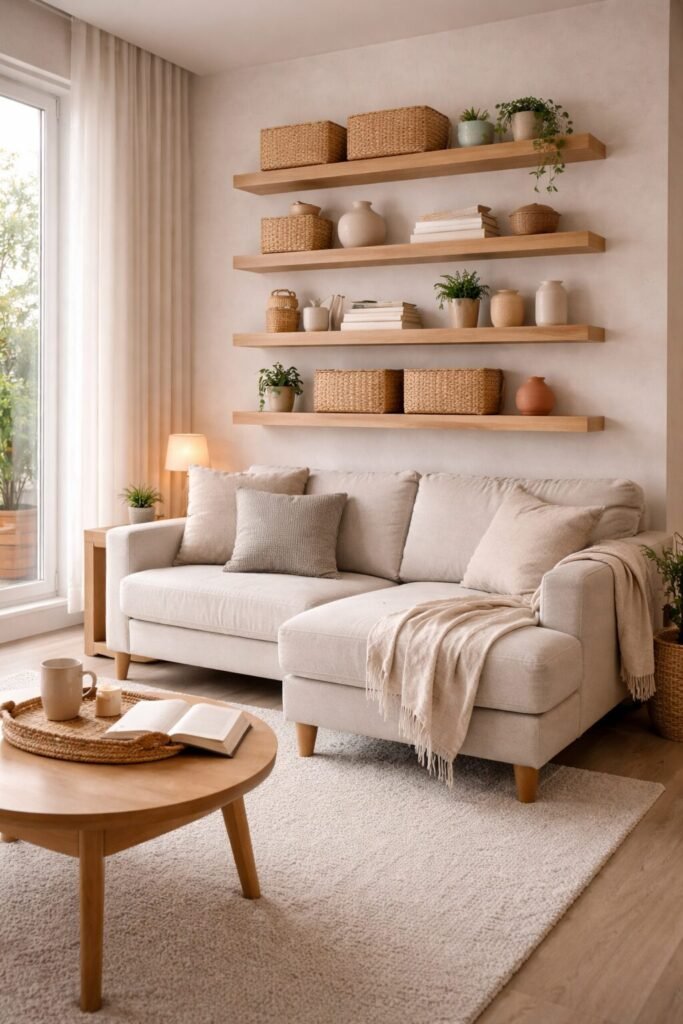
Two shelves work well for light storage. Three or four shelves create a stronger vertical system.
Know your wall type before you buy anything.
Drywall is the most common and easiest to work with. Plaster walls (common in older apartments) need different anchors. If you’re renting, check your lease before you drill anything.
Clear the wall area before you start.
Move furniture out a bit, lay down a small drop cloth if you’re worried about dust, and have your tools nearby so you’re not hunting for things mid-install.
Locate your studs first.
Run the stud finder slowly across the wall. When it finds a stud, mark it with a small piece of painter’s tape. Shelves anchored into studs are far more stable than shelves anchored into drywall alone. Standard stud spacing is 16 inches apart, so once you find one, measure from it to find the next.
Keep weight in mind.
Floating shelves are sturdy but not for heavy loads. They can hold books, small baskets, and small decor. Always check the weight limit of the shelf, brackets, and wall anchors.
Plan spacing before drilling.
Leave 10–14 inches between shelves so baskets and books fit comfortably.
Measure twice and mark placement with painter’s tape.
Tape strips on the wall where shelves will go. Step back and look at it from across the room. Sometimes I leave the tape up for a few hours to see if the spacing feels right.
Quick Tip: Keep the top shelf at least 12 inches below the ceiling so the wall still feels open.
If you decide to start your shelves this low, then move your couch forward and add a slim console table like this one behind the sofa. Trust me, your head will thank you.
Follow These Steps
Step 1: Mark your first shelf height and width
Measure from the floor to the bottom of the first shelf and mark the spot. Choose a reference point, like a wall or sofa, to find the shelf’s center. Measure out from the center to keep the shelves even. Lightly mark the left and right edges with a pencil.
Step 2: Mark the bracket placements
Most shelves need brackets spaced 16–24 inches apart. Position your brackets so that at least one of them hits a stud if possible.
Hold the shelf bracket against the wall and mark where the screws will go. If you’re using concealed floating hardware, mark each mounting hole carefully.
Quick checkpoint: You should see clean pencil marks where each screw will be installed.
Step 3: Check for studs
Run a stud finder along the wall. If a stud lines up with your bracket holes, use it. If not, plan to install drywall anchors.
Step 4: Drill pilot holes
Use a drill bit slightly smaller than your screws to drill pilot holes. This keeps the wall from cracking and makes installation easier.
Quick checkpoint: Pilot holes should line up exactly with your bracket marks.
Step 5: Install wall anchors if needed
Tap drywall anchors into the pilot holes until they sit flush with the wall. Follow the weight rating on the anchor packaging and don’t skip this step.
Step 6: Mount the brackets
Screw each bracket into the wall. Give them a firm tug once in. They should feel completely solid with no wobble. If a bracket feels soft, the anchor may not have seated properly. Back it out and try again with a slightly larger anchor.
Quick checkpoint: Both brackets are mounted and level. Hold your level across the tops of both brackets now to confirm they match.
Step 7: Attach the shelf
Set the shelf on the brackets and secure it according to the manufacturer’s instructions. Some designs slide over a hidden rod, while others attach from underneath with screws. You want it to be snug but not tight, as overtightening can crack the shelf face.
Give the shelf a gentle push to confirm it’s secure.
Step 8: Repeat for the remaining shelves
Measure up from your first shelf to mark the next one. Keep your spacing consistent (12–16 inches between shelves looks clean and leaves enough room to access things easily). Use the same stud-find-then-anchor method for each row.
Quick checkpoint: Step back and look at all the shelves together. They should form a clean vertical stack with even spacing and be parallel to the ceiling. If one looks slightly off, now is the time to adjust before you load them up. Consistency is what keeps the wall looking intentional.
Step 9: Style and load
Place heavy items near the wall and light items in front. If you use baskets, group similar things. Books make good vertical fillers. Leave a bit of space at each end of the shelf so it doesn’t look crowded.
Common Issues and Solutions
There are no studs where you need them.
This is common in apartments. Drywall anchors rated for 25–50 lbs each are fine for a moderately loaded decorative shelf. Just don’t overload it. A 24-inch shelf with two anchors can comfortably hold baskets, small plants, and books, but not a full set of dishes.
The drill bit is pulling drywall dust, but is not catching.
You may have hit a hollow section or a gap between drywall layers. Back out and move the bracket position by an inch or two. Use a plastic hollow-wall anchor for those spots, not a basic drywall screw.
Drywall feels weak when drilling.
Switch to a heavier wall anchor rated for a higher weight.
The shelf wobbles after mounting.
This almost always means the anchor didn’t seat fully or the screw is stripping through the drywall. Take the bracket down, use a slightly larger toggle bolt anchor, and remount. Studs are always more reliable than anchors alone, so if you can reposition the bracket to hit a stud, do that.
The shelf tilts forward.
The bracket may not be fully secured. Remove the shelf and tighten the wall screws again.
The shelves look uneven once on the wall.
This usually happens when brackets shift slightly during installation. Loosen the screws just enough to adjust the bracket with a level, then retighten.

The shelf surface looks scratched after mounting.
Place a small cloth or paper bag on the bracket tops before putting the shelf down. This simple step helps protect the finish on painted or stained shelves.
Spacing feels off.
Before reinstalling, test a new layout with painter’s tape.
Shelves feel cluttered.
Use baskets or bins so smaller items stay grouped instead of scattered.
Style Options
Once you’ve got the basics in, there are a few different directions you can take the look.
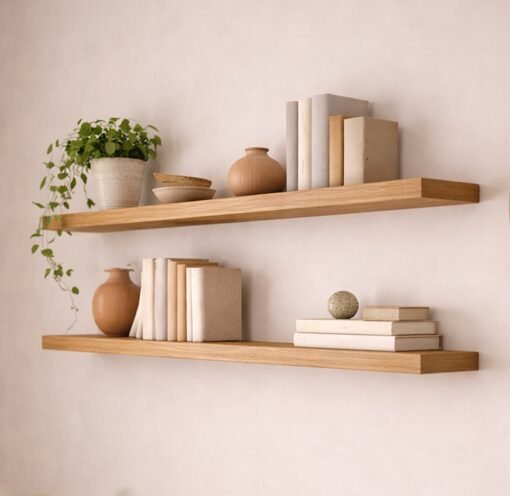
Minimal
Stick to one shelf material (natural wood or white-painted) and keep the styling sparse: one or two small plants, a few books spine-out, and a small ceramic. Leave at least a third of the shelf empty and maintain a neutral color scheme. The restraint is what makes it feel intentional.
Swap any visible hardware with flush-mount hidden brackets. This makes the shelf appear to float without visible support.
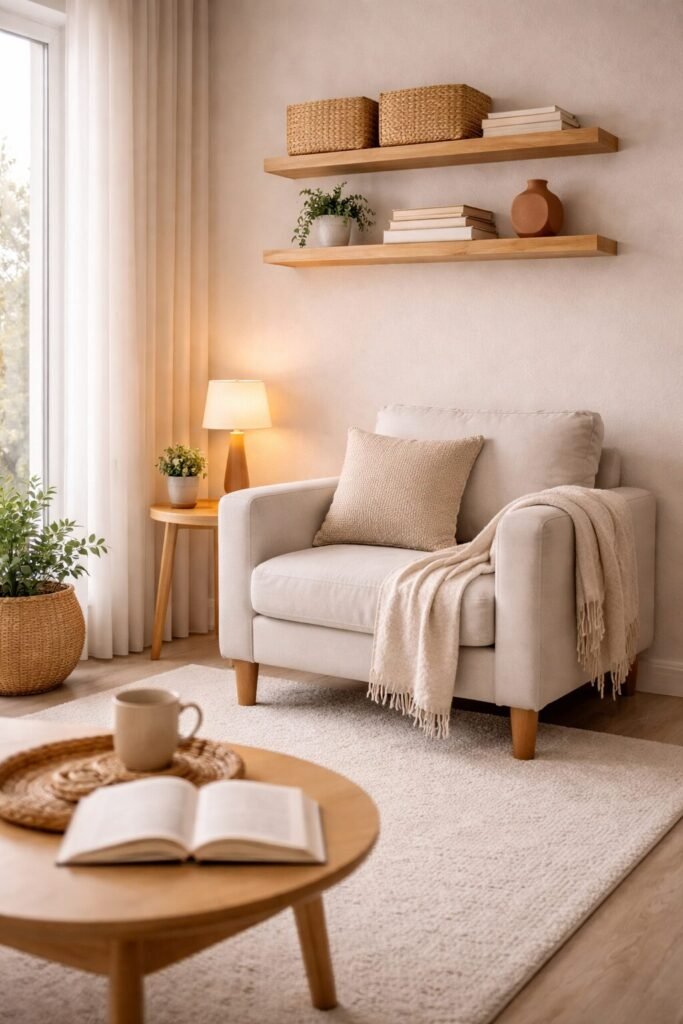
Cozy
Mix warm-toned wood shelves with woven baskets, small framed prints propped against the wall, a candle or two, and a trailing plant. Layer textures rather than colors. Keep the palette to 2–3 tones so it doesn’t tip into cluttered.
Add LED strip lights underneath for evening ambiance. Warm white (2700K–3000K) keeps the mood soft and won’t wash out the colors.

Functional first
Use the wall for actual storage rather than display. Baskets labeled by category, a row of matching jars, or a dedicated shelf for a specific room task (charging station, craft supplies, paperwork). Keep it tight and organized rather than decorative.
Tiny Tweaks That Matter
Once everything is up and loaded, step back and do a quick scan.
- Are the heaviest items closest to the wall and brackets?
- Does each shelf have some visual breathing room, or does it look packed?
- Do the shelves feel balanced with the rest of the room, or do they need another element (art, mirror, light) nearby to anchor them?
- Is there anything on the shelves that doesn’t belong up there? Surfaces attract clutter. Keep only what you actually want to see.
Small changes, like moving a basket to one side or adding a plant, can turn “stuff on a shelf” into a thoughtful layout.
Quick Tip: Take a photo before you load the shelves and another after. The before/after is useful for deciding if the layout is working, and it’s satisfying to see the wall transformation clearly.
Which direction did you go with your shelves? Minimal, cozy, or full-on functional storage? I’d love to hear what’s working in your space.